Christmas is just around the corner! With weeks until December 25, some of us are already starting to feel the holiday season as we replace our jack-o-lanterns and fake spider webs with tinsel and festive Christmas lights. If you’re planning a family gathering in your home for the holidays, why not make things merrier by giving all your family members and guests a Santa hat to wear? If you find that buying enough hats for a party of 20 or more people can be expensive, you might be tempted to turn to hats sold at the dollar store and other thrift shops.
But I’ve found that a lot of these low-cost hats are made with poor quality and are the type of hats that would fray, and I’d have to throw them away because they wouldn’t last until the next Christmas season. It’s a waste of money, so I’ve found an alternative: making my own Santa hats.
These take more time and effort than just buying your own hat, yes, but I’ve found it provides two advantages: they come at a better quality because these aren’t mass produced cheaply, but you can still make quality hats at low costs; and you can customize them to the family and guests wearing it.
The Materials
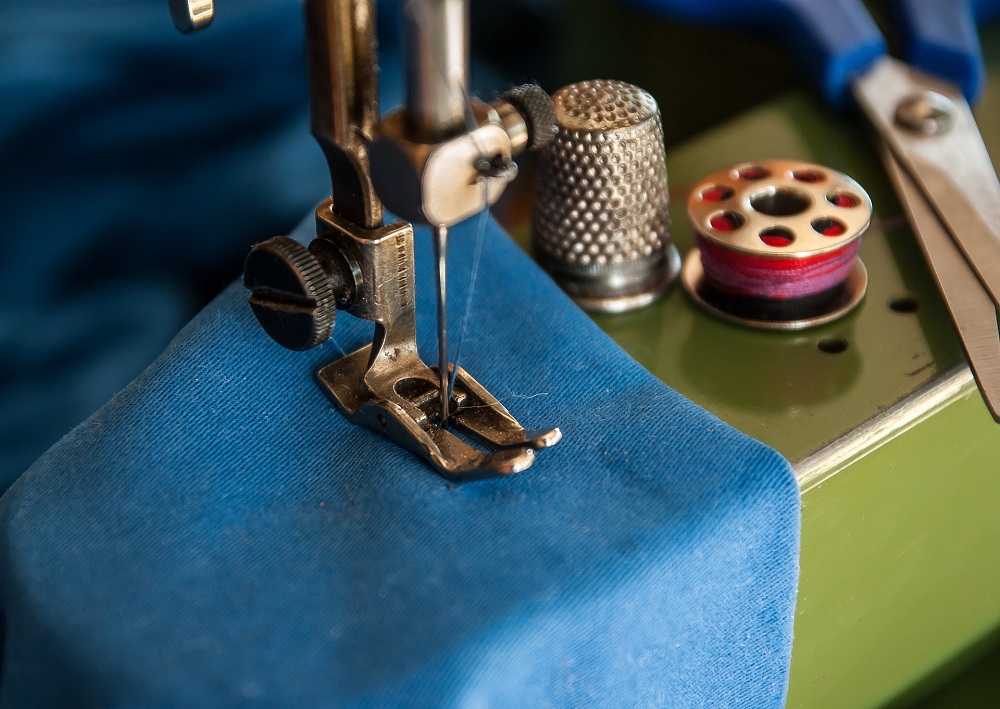
To make a Santa Hat, you’ll need the following:
- Red and white felt or fabric
- Needle and red and white thread
- Hot glue gun
- Paper, pencil, and a piece of string
- Marker or tailor’s chalk
- Scissors
- Ruler
- White pompoms
You can buy this and almost everything here in craft and supply stores. The quality of your Santa hats will depend on your sewing skills and the quality of your materials.The amount of fabric or felt you’ll need will depend on the number of guests you’re having and the size of the hats you’re making. Felt is the usual option for Santa hats, but I also recommend faux fur, velvet, or fleece.
The white pompoms are the topper for the hat. I recommend just buying the pompoms if you’re going for the traditional white topper or if you find other pompom colors. But if you want to get creative and create your own blend of colors, you can make your own pompoms in four different sizes with these DIY pompom makers. YouTuber Red Ted Art provides a great video explaining how to use it.
Step 1: Determine the Head Size
 First, you’ll need to make a pattern to cut the right shape for the hat. Since you can’t really know all the head sizes of your guests, assume that everyone has an average-sized head circumferenceor about 22 to 23 inches. I usually assume bigger and go for 23 just in case because it’s much easier for my guests to re-adjust a large hat to sit on their head than for them to force a hat too small for them onto their head.
Babies and toddlers’ heads can range between 12 to 16, while children and teens can reach between 16 to 22. If you want to make special hats for them, just follow the same instructions below, but with adjusted sizes.
Step 2: Draw and Cut the Triangle
Since we’ll use 23 inches for this example, we now take this number and half it. On a piece of paper, I drew an isosceles triangle, with its base measuring half of your head size. The hat’s height depends on you, but for adults, it is usually around 14 inches and 13 inches for children.
This is where the piece of string comes in. If we cut the triangle now and use it as the pattern, the shape won’t account for the curve of the head and won’t fit, so your pattern should have a curved base to curve along with your head. Take the string and tie your pencil to one end and then take the other end and hold it at the highest tip of the triangle. Your string should be long enough that when you place the pencil on the center of the base, the string is taut. From there, move your pencil left and right; it should form an equal arch inside the triangle. You can draw the curve by hand, but I wouldn’t recommend it because it might come out unequal. Cut out the pattern.
Step 3: Trace and Cut the Fabric
 Place the pattern on top of a piece of folded fabric with the wrong side facing out and one of the triangle’s longer sides parallel to the fabric’s fold. Trace the pattern with a marker or tailor’s chalk. Pin the folded fabric into place and cut the pattern out. Give the base and the other longer side about half an inch allowance for the seam. Without the seam, you will use up part of the hat to sew it on the inside and make it smaller than it should be.
Step 4: Sew the Edges
Sew the two edges at the seams. You can hand sew with a straight stitch or do a backstitch with a sewing machine. You can also use a glue gun or fabric glue, but I find sewing really helps keep the hat together.
Step 5: Prepare and Sew the White Trim
The white trim should be an inch longer than your head circumference. For the width, it should be twice the size of the width you want plus a half-inch for the seam allowance. If you want your hats to have a 2-inch trim, in this case, our trim should be 24 inches by 4.25 inches.
Using white thread, sew the seams with a straight stitch. Fold the trim in half with the wrong sides facing out. Sew the ends together, and it should look like a circle with the wrong side facing out.
Step 6: Attach the White Trim to the Hat
Turn the hat so that the right side is out. Slide half of the trim inside the hat and then sew along the bottom edge with white or red thread. For a clean look, try to align the seam of the side of the hat with the seam of the trim.
Fold the other half of the trip over the hat. By now, the right side of the trim should be facing out and it should begin to look like a proper Santa hat. Tuck the raw edge of the trim and sew it to keep it in place.
Step 7: Attach the Pompom
Glue or sew the pompom to the tip of your hat. I find that gluing might not be enough, especially if your guests will be moving a lot during the festivities, and sewing it in place keeps it more secure. I prefer yarn pompoms from craft stores or DIY because yarn adds a fun texture to the finished hat while cotton balls tend to start fraying or losing its shape and fluffiness after some time.
If you really want a soft hat topper, take some cotton balls and wrap it with a piece of white cloth. Sew the edges together to form a ball, and then attach this to your hat.
Step 8: Customize Your Hat
You have the finished product, but if you want to go further – maybe monogram the names of your guests onto the hat or add stickers and festive decorations – you can. However, take care not to add heavy decorations or else it may be too heavy for your guests to wear.
 If you want to be cautious in case of guests with larger heads, sew a bit of garter into the inside of the hat like the way you would a party hat. Make it so that your guests can opt to wear it if the hat keeps falling off, or they can just tuck it back inside if it fits them well enough.
Making your own Santa hats for Christmas may mean more time and effort, but it also means personalized hats made with better quality. So, when Christmas rolls in and your guests arrive, they’ll be sure to appreciate your hard work and will be able to wear these hats for the next Christmas seasons.