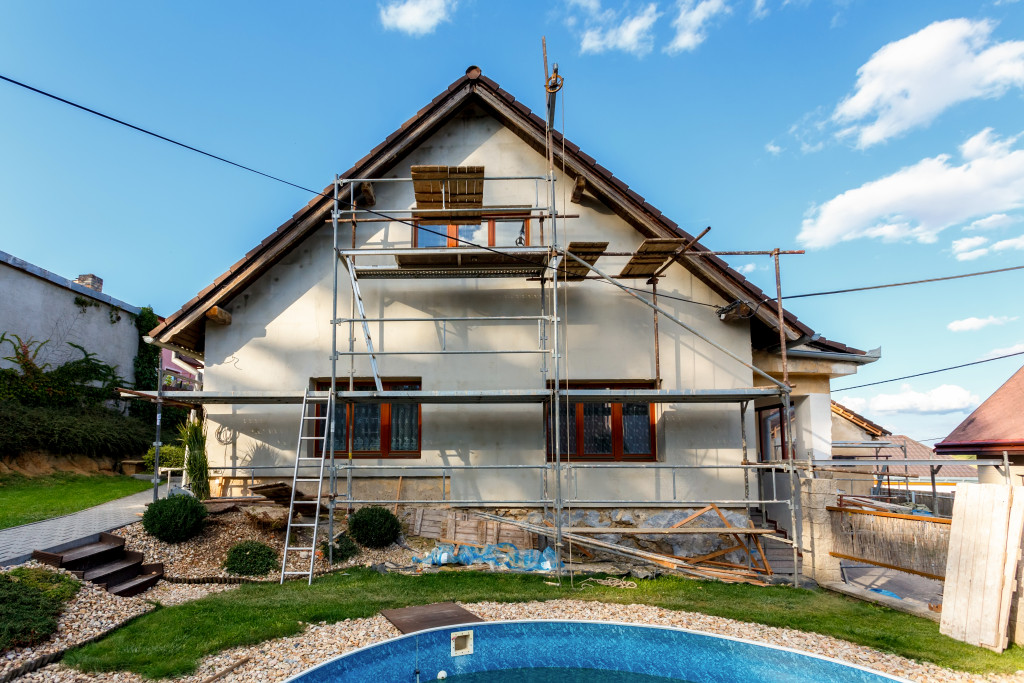
A roof upgrade is one of the most important investments you can make in your home. The roof protects framing, insulation, ceilings, electrical systems, furnishings, and finishes from moisture. When it begins to fail, the effects may spread far beyond a few missing shingles or an isolated ceiling stain.
Successful roof work requires more than choosing a material and scheduling installation. Homeowners need to understand the condition of the existing system, determine whether repair or replacement is appropriate, compare detailed proposals, select materials suited to the building, and prepare the property for construction.
The order of these decisions matters. Choosing a product before investigating drainage or structural problems may result in an incomplete solution. Accepting a low estimate without reviewing flashing, ventilation, decking, and disposal costs can also lead to expensive changes after work begins.
A clear plan helps you avoid rushed decisions and protects your budget. Begin with a complete evaluation, establish the scope in writing, compare qualified professionals, and review the finished project before making the final payment.
Inspect Every Area Before Choosing a Solution

A leak does not automatically mean the entire roof needs replacement. Some problems can be corrected through targeted repairs, while others indicate widespread deterioration. The first step is to understand exactly what is happening.
From the ground, look for visible warning signs such as:
- Missing, curled, cracked, or displaced materials
- Loose flashing around chimneys or walls
- Sagging sections
- Damaged gutters or downspouts
- Debris collecting in roof valleys
- Stains beneath soffits
- Vegetation growing on the surface
- Uneven or deteriorated edges
Inside the home, examine ceilings, walls, and accessible attic areas. Water stains, damp insulation, peeling paint, musty odors, or darkened decking may indicate moisture intrusion. Keep in mind that water can travel along rafters and framing before becoming visible, so the stain may not be directly beneath the leak.
Flat and low-slope systems require special attention because water does not drain from them as quickly as it does from a steep roof. Common trouble areas include seams, drains, perimeter edges, penetrations, and locations where rooftop equipment is installed.
Rubber roof maintenance services may help extend the life of a membrane that remains structurally sound. Maintenance could include cleaning debris, repairing small punctures, resealing seams, correcting flashing concerns, or applying an approved restoration coating.
Maintenance is less likely to solve the problem when there is:
- Widespread membrane cracking
- Extensive seam separation
- Saturated insulation
- Repeated leaking in multiple areas
- Significant ponding water
- Structural movement
- A deteriorated or damaged deck
Ask a local flat roofer to evaluate drainage, membrane attachment, flashing, insulation moisture, seams, drains, and penetrations. Request photographs of the findings and a written explanation of the recommended work.
Homeowners should avoid climbing onto a roof to perform a close inspection. Wet surfaces, loose materials, steep slopes, and concealed weak spots create serious fall hazards. Make observations from the ground and leave elevated inspections to trained professionals.
Document the location and timing of each problem. Note whether leaks appear during heavy rain, wind-driven rain, snowmelt, or only after prolonged storms. This information can help the professional identify the likely source.
The final scope should respond to the actual condition of the system, not simply its age. An older roof that has been maintained well may still have serviceable areas, while a newer installation with poor flashing or drainage may require substantial corrective work.
Compare Professionals Beyond the Initial Price
Once you understand the likely scope, collect proposals from qualified professionals. The least expensive estimate is not always the best value, especially when important materials, permits, or repairs have been omitted.
Give each roofer the same basic project information so the proposals are easier to compare. Include the approximate roof age, known leak locations, current material, access concerns, planned exterior improvements, and desired schedule.
Before hiring anyone, verify:
- Applicable licenses or registrations
- General liability insurance
- Workers’ compensation coverage
- Experience with the proposed material
- Local references
- Manufacturer certifications, when relevant
- A physical business address
- Written warranty terms
Do not rely on verbal assurances about coverage. Ask for current documentation and confirm that the company name matches the proposal.
When comparing roofing companies, review each scope line by line. A detailed estimate should identify:
- Removal of existing materials
- Number of layers being removed
- Disposal and dumpster costs
- Underlayment
- Flashing
- Drip edge
- Ice and water protection
- Ventilation components
- Fasteners
- Surface materials
- Decking allowances
- Permits and inspections
- Cleanup
- Warranty coverage
Pay particular attention to decking replacement. Contractors may not know how much concealed wood damage exists until the old materials are removed. The contract should state the cost per sheet or per square foot for replacement so you are not surprised later.
Ask how additional work will be handled. The contractor should photograph concealed damage, explain why a change is necessary, and receive approval before proceeding whenever possible.
Review all warranties carefully. A manufacturer’s warranty generally applies to the product, while the installer’s warranty covers workmanship. Extended system warranties may have additional installation, registration, ventilation, or maintenance requirements.
Ask questions about:
- Warranty length
- Exclusions
- Transferability
- Required maintenance
- Claim procedures
- Who pays for labor
- Whether repairs must be completed by an approved installer
Communication matters as much as technical ability. Find out who will supervise the project, who will answer questions, and how often you will receive updates.
Warning signs during the hiring process include:
- Pressure to sign immediately
- Requests for a very large cash deposit
- No written scope
- No proof of insurance
- Vague product descriptions
- Unclear payment terms
- Pricing far below every other proposal
- Refusal to provide references
A transparent, detailed proposal gives you more protection than a low number without supporting information.
Define the Full Scope Before Materials Arrive

Material selection should come after the underlying structure, drainage, ventilation, and flashing have been evaluated. Otherwise, you may choose a surface product without addressing the conditions that caused the existing system to fail.
Roofing contractors should explain whether the project involves a complete tear-off, a partial replacement, or an overlay where local rules and manufacturer instructions permit it. A full tear-off generally offers the clearest view of the decking and makes it easier to identify concealed damage.
The roof deck should be checked for:
- Rot
- Delamination
- Soft areas
- Improper patching
- Loose fasteners
- Corrosion
- Inadequate thickness
- Gaps or damaged edges
Establish the cost of unexpected deck repairs in writing before construction begins.
Flashing is another critical part of the scope. It directs water away from joints and transitions, including:
- Chimneys
- Skylights
- Valleys
- Plumbing vents
- Sidewalls
- Roof-to-wall connections
- Dormers
- Mechanical penetrations
Reusing worn or improperly installed flashing can undermine an otherwise complete replacement. The estimate should clearly state which pieces will be replaced and which, if any, will remain.
Ventilation must also be considered as a balanced system. Exhaust vents cannot function properly without adequate intake. Poor ventilation can contribute to excess attic heat, moisture accumulation, mold, premature deterioration, and ice dams in colder regions.
Roofing services may be coordinated with other exterior improvements, including:
- Gutter replacement
- Fascia and soffit repair
- Skylight replacement
- Chimney work
- Attic insulation
- Exterior painting
- Solar-panel preparation
- Siding repairs
Coordinating these projects can reduce duplicated labor. For example, replacing an aging skylight while the surrounding materials are already removed is often easier than disturbing a recently completed roof later.
Before products are ordered, confirm:
- Manufacturer and product line
- Color
- Profile
- Underlayment type
- Flashing materials
- Ventilation components
- Accessories
- Fastener system
- Delivery date
- Storage location
Small samples may look different when installed across a large surface. Review completed projects or manufacturer photographs under lighting conditions similar to your home. Consider how the color will work with the siding, masonry, trim, and surrounding properties.
Finalize the permit responsibility, payment schedule, start date, anticipated duration, access plan, and cleanup expectations before construction begins. Decisions made in advance reduce change orders and prevent delays once crews and materials arrive.
Select a System for the Building and Climate
Roofing products should be evaluated according to their complete ownership cost rather than installation price alone. A lower-cost material may require more frequent replacement, while a premium system may not provide good value if it is poorly suited to the structure.
Talk with a local roofing contractor about regional conditions, including:
- Heavy rain
- Wind exposure
- Snow loads
- Freeze-and-thaw cycles
- Intense sunlight
- Coastal salt
- Tree coverage
- Hail risk
- Local code requirements
Local experience can help identify products and installation methods that have performed well in similar buildings.
Common categories include asphalt shingles, metal panels, tile, slate, synthetic products, and low-slope membranes. Each has different requirements for slope, underlayment, framing, ventilation, installation, and maintenance.
Metal roofing materials vary considerably. Important differences include:
- Steel, aluminum, copper, or zinc construction
- Panel thickness
- Coating type
- Seam profile
- Exposed or concealed fasteners
- Clip systems
- Factory finishes
- Trim and flashing details
Exposed-fastener panels use visible screws that penetrate the surface. These fasteners and washers may require periodic inspection. Concealed-fastener systems hide attachment points beneath interlocking seams and are often used for standing-seam installations.
Potential advantages of metal include durability, resistance to certain weather conditions, relatively low weight, and reflective finish options. However, performance depends heavily on the design and installer.
Planning considerations may include:
- Higher initial cost
- Expansion and contraction
- Snow movement
- Proper underlayment
- Flashing complexity
- Installer experience
- Compatibility with gutters
- Noise concerns
- Future repairability
Snow guards may be necessary in some climates to help prevent large sheets of snow from sliding from the roof. Clips, fasteners, closures, trim, sealants, and drainage accessories should all be specified in the proposal.
Ask whether the existing framing and decking are suitable for the selected system. Heavy materials may require structural review, while certain profiles need specific deck or underlayment conditions.
Compare finish warranties, material warranties, and installation warranties separately. Some surface warranties cover fading or coating failure but exclude scratches, coastal exposure, improper storage, or installation errors.
The best system is not automatically the most expensive option. Select a product that fits the slope, structure, climate, maintenance expectations, and realistic budget.
Prepare the Property and Review Each Stage
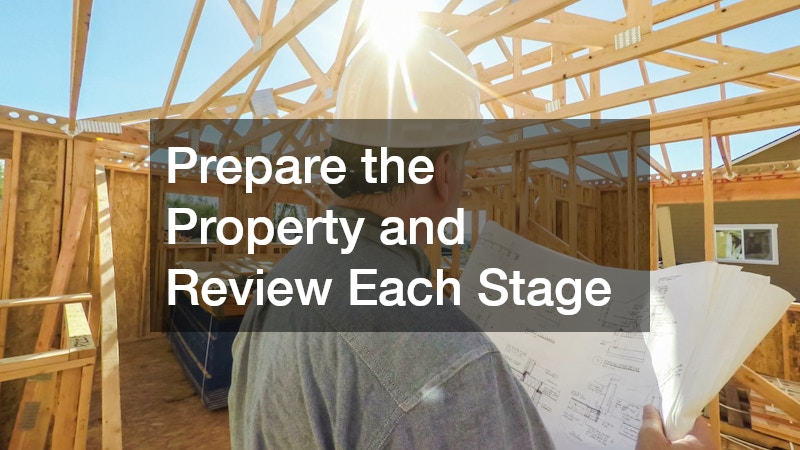
Proper preparation can reduce delays and protect your belongings. Roof work creates vibration, noise, dust, debris, and frequent movement around the property.
Before residential roofing work begins, prepare the interior by:
- Removing fragile items from walls and shelves
- Covering belongings stored in the attic
- Protecting furniture beneath skylights
- Securing hanging fixtures
- Informing household members about noise
- Making arrangements for pets and young children
Outside, move vehicles away from the building and clear furniture, grills, decorations, toys, and tools from the work area. Mark sprinkler heads, lighting wires, septic components, and delicate plants. Discuss how landscaping will be protected.
Clarify where materials, dumpsters, trailers, and equipment will be placed. Make sure crews can access the work area without blocking emergency routes or damaging surfaces that cannot support heavy loads.
The installation process may include:
- Material delivery
- Protection of the property
- Removal of existing materials
- Deck inspection
- Structural repairs
- Installation of underlayment
- Flashing and ventilation work
- Installation of the finished surface
- Cleanup
- Final inspection
A general contractor may be useful when the roof is part of a larger addition or renovation involving framing, siding, masonry, insulation, electrical work, interior restoration, or several other trades. One coordinator can manage schedules and resolve conflicts between different crews.
Responsibilities should still be clearly documented. Do not assume one company will complete work assigned to another. Contracts should specify who handles framing, flashing, siding transitions, interior repairs, permits, inspections, and cleanup.
Monitor the project without entering unsafe areas or interrupting the crew. Ask for updates after important milestones, including tear-off, deck inspection, underlayment, flashing, and final cleanup.
During the final walkthrough, review:
- Surface alignment
- Flashing
- Ventilation components
- Gutters and downspouts
- Siding and trim
- Attic condition
- Landscaping
- Driveways and walkways
- Cleanup of debris and fasteners
Use a magnetic sweep around the building to help collect loose nails, but continue watching for debris over the following days.
Before making final payment, request:
- Final invoice
- Warranty certificates
- Product documentation
- Permit closure
- Inspection results
- Maintenance instructions
- Before-and-after photographs
- Contact information for future warranty claims
The project is not complete until the installation has been reviewed, the site has been cleaned, and all required documents have been delivered.
Protect the Finished Project With Routine Care

A complete upgrade begins with a careful inspection and ends with a plan for long-term maintenance. Keep contracts, photographs, invoices, permits, product information, and warranty documents together in a safe location.
Inspect the property seasonally from the ground and after major storms. Watch for debris buildup, damaged gutters, displaced materials, loose flashing, interior stains, and drainage concerns. Address small problems before moisture reaches the decking, insulation, framing, or finished rooms.
Avoid walking on the surface or attempting elevated repairs without proper training and equipment. Some materials can be damaged by foot traffic, and even a low slope can present a serious fall hazard.
A well-planned project should provide more than a new exterior appearance. It should improve drainage, protect vulnerable transitions, support proper ventilation, and create a reliable barrier against the weather. By evaluating the existing system carefully, comparing complete proposals, choosing suitable materials, and reviewing the installation thoroughly, you can help your investment protect the home for many years.